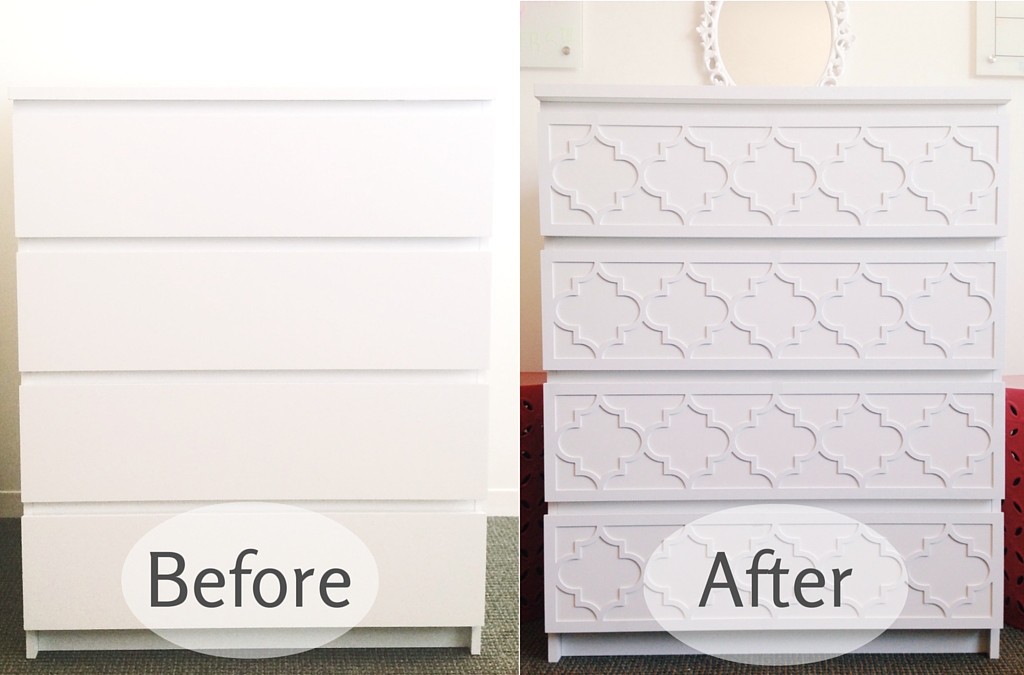
When we first came across the O’verlays site, we knew we had to get our hands on one of their DIY Ikea kits. O’verlays has created light-weight, flexible decorative panels that adhere to everything from dressers to mirrors. These panels take your basic, affordable home accents and furniture and turns them into custom, high-end looking pieces with minimal cost and effort. We decided to tackle a DIY Ikea dresser hack with this Jasmine O’verlays kit for the Ikea 4 drawer MALM series dresser.
Just a few simple steps get you from blah to beautiful:
Assemble Your Ikea Furniture
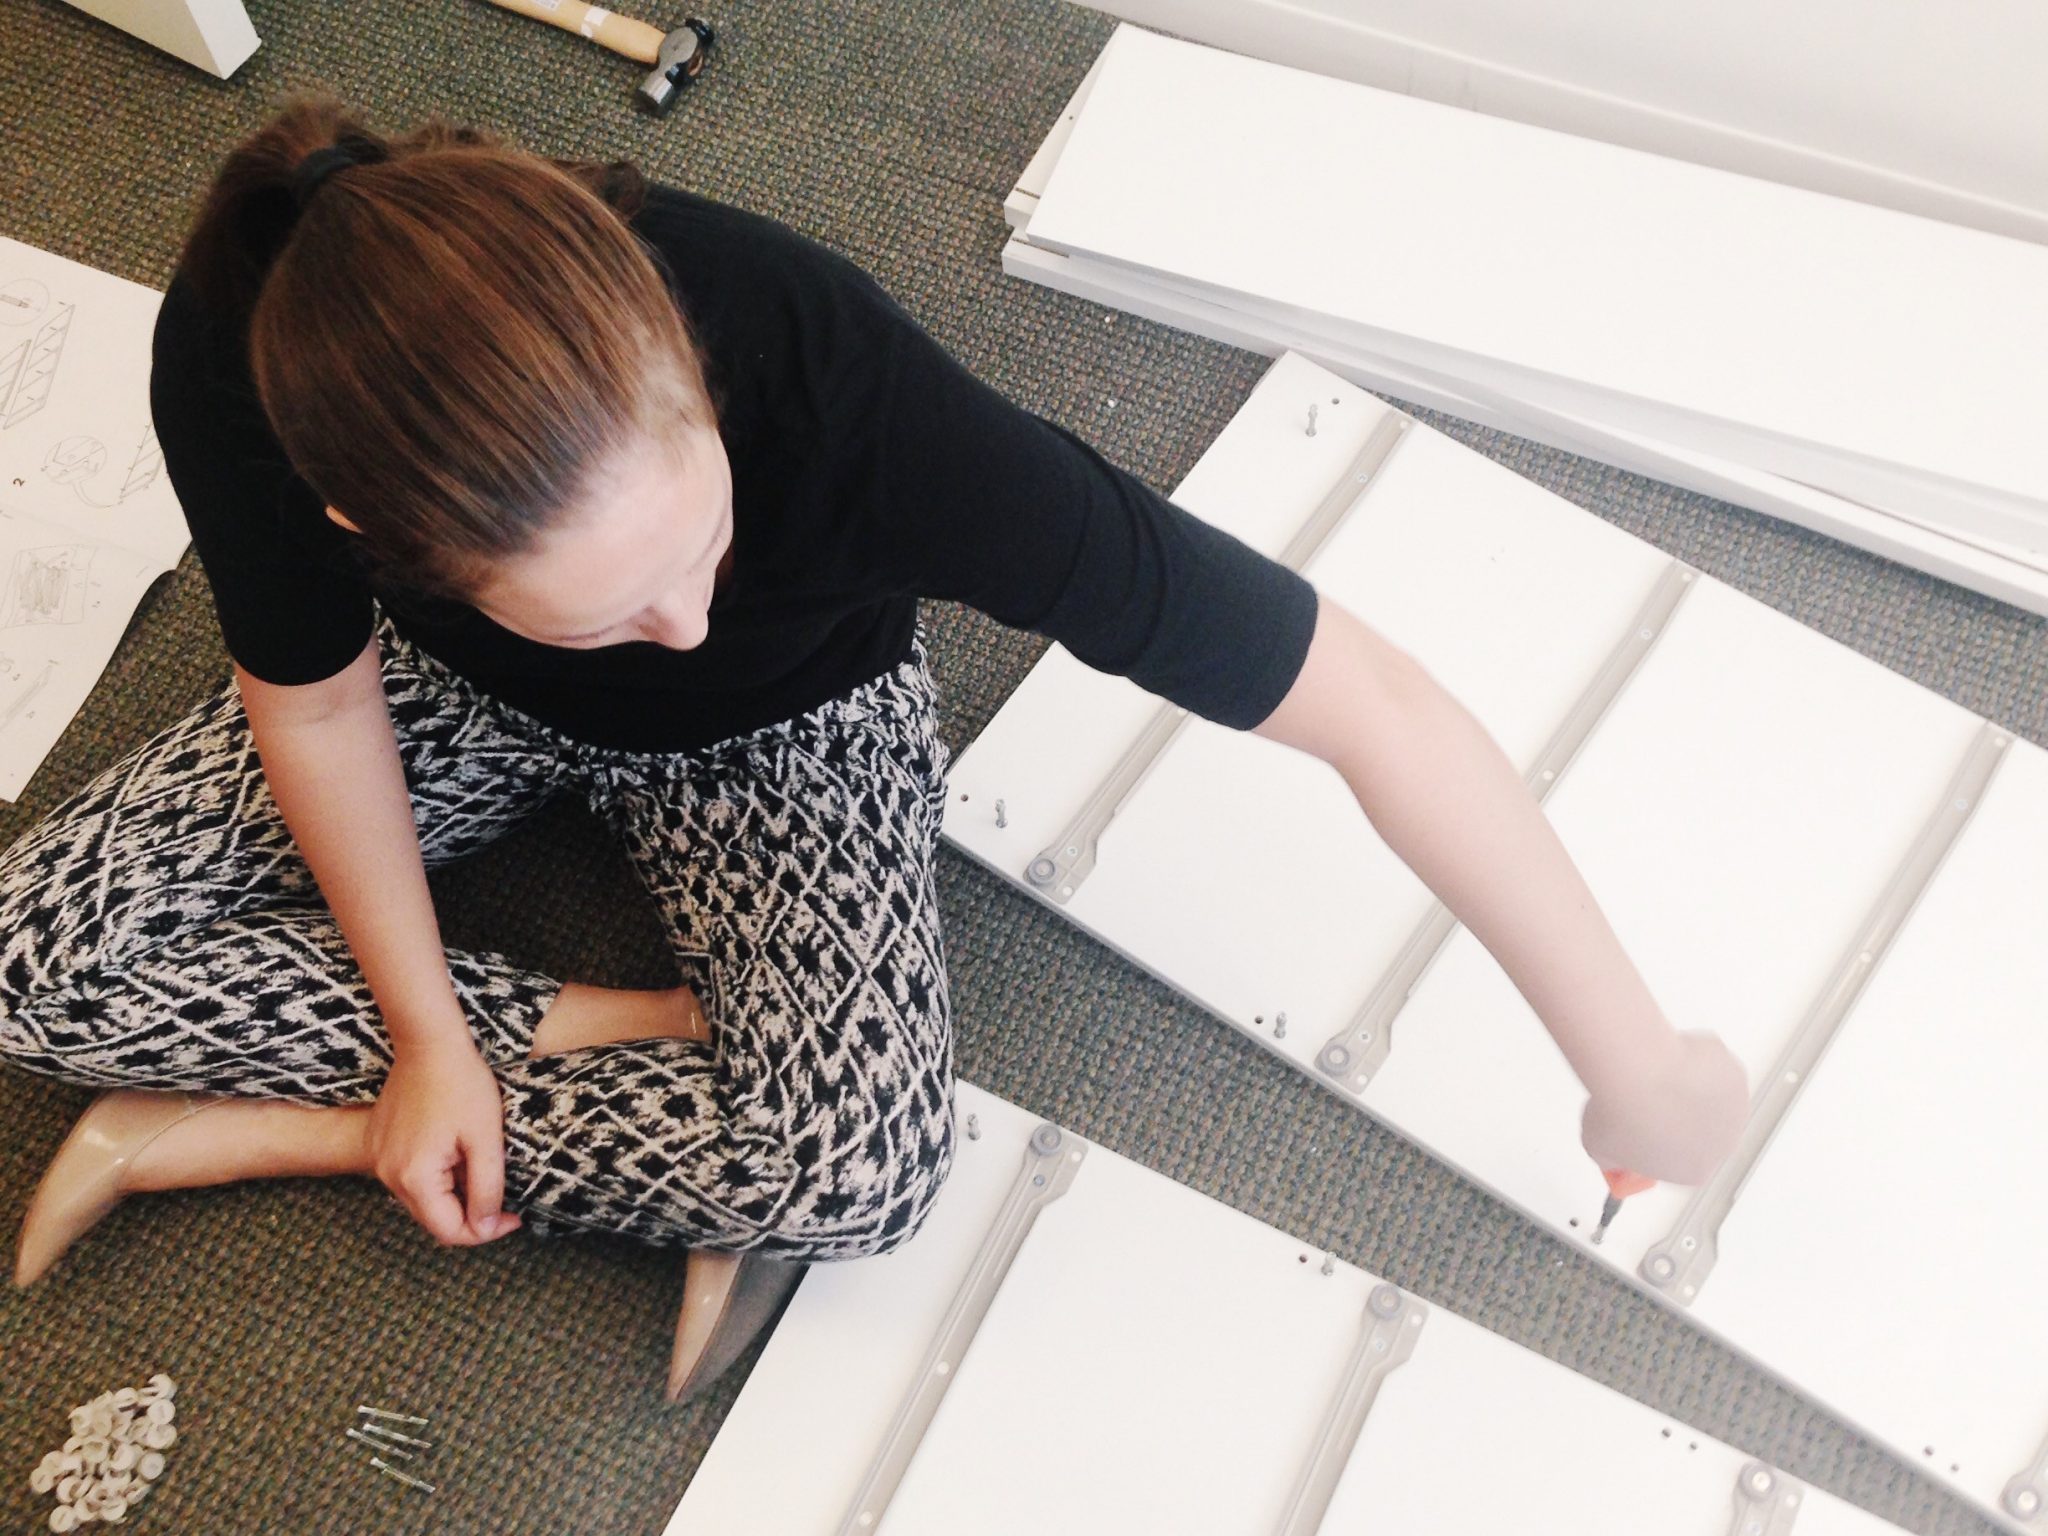
Preferably, this step is done with more enthusiasm and less high heels.
Gather Your Materials
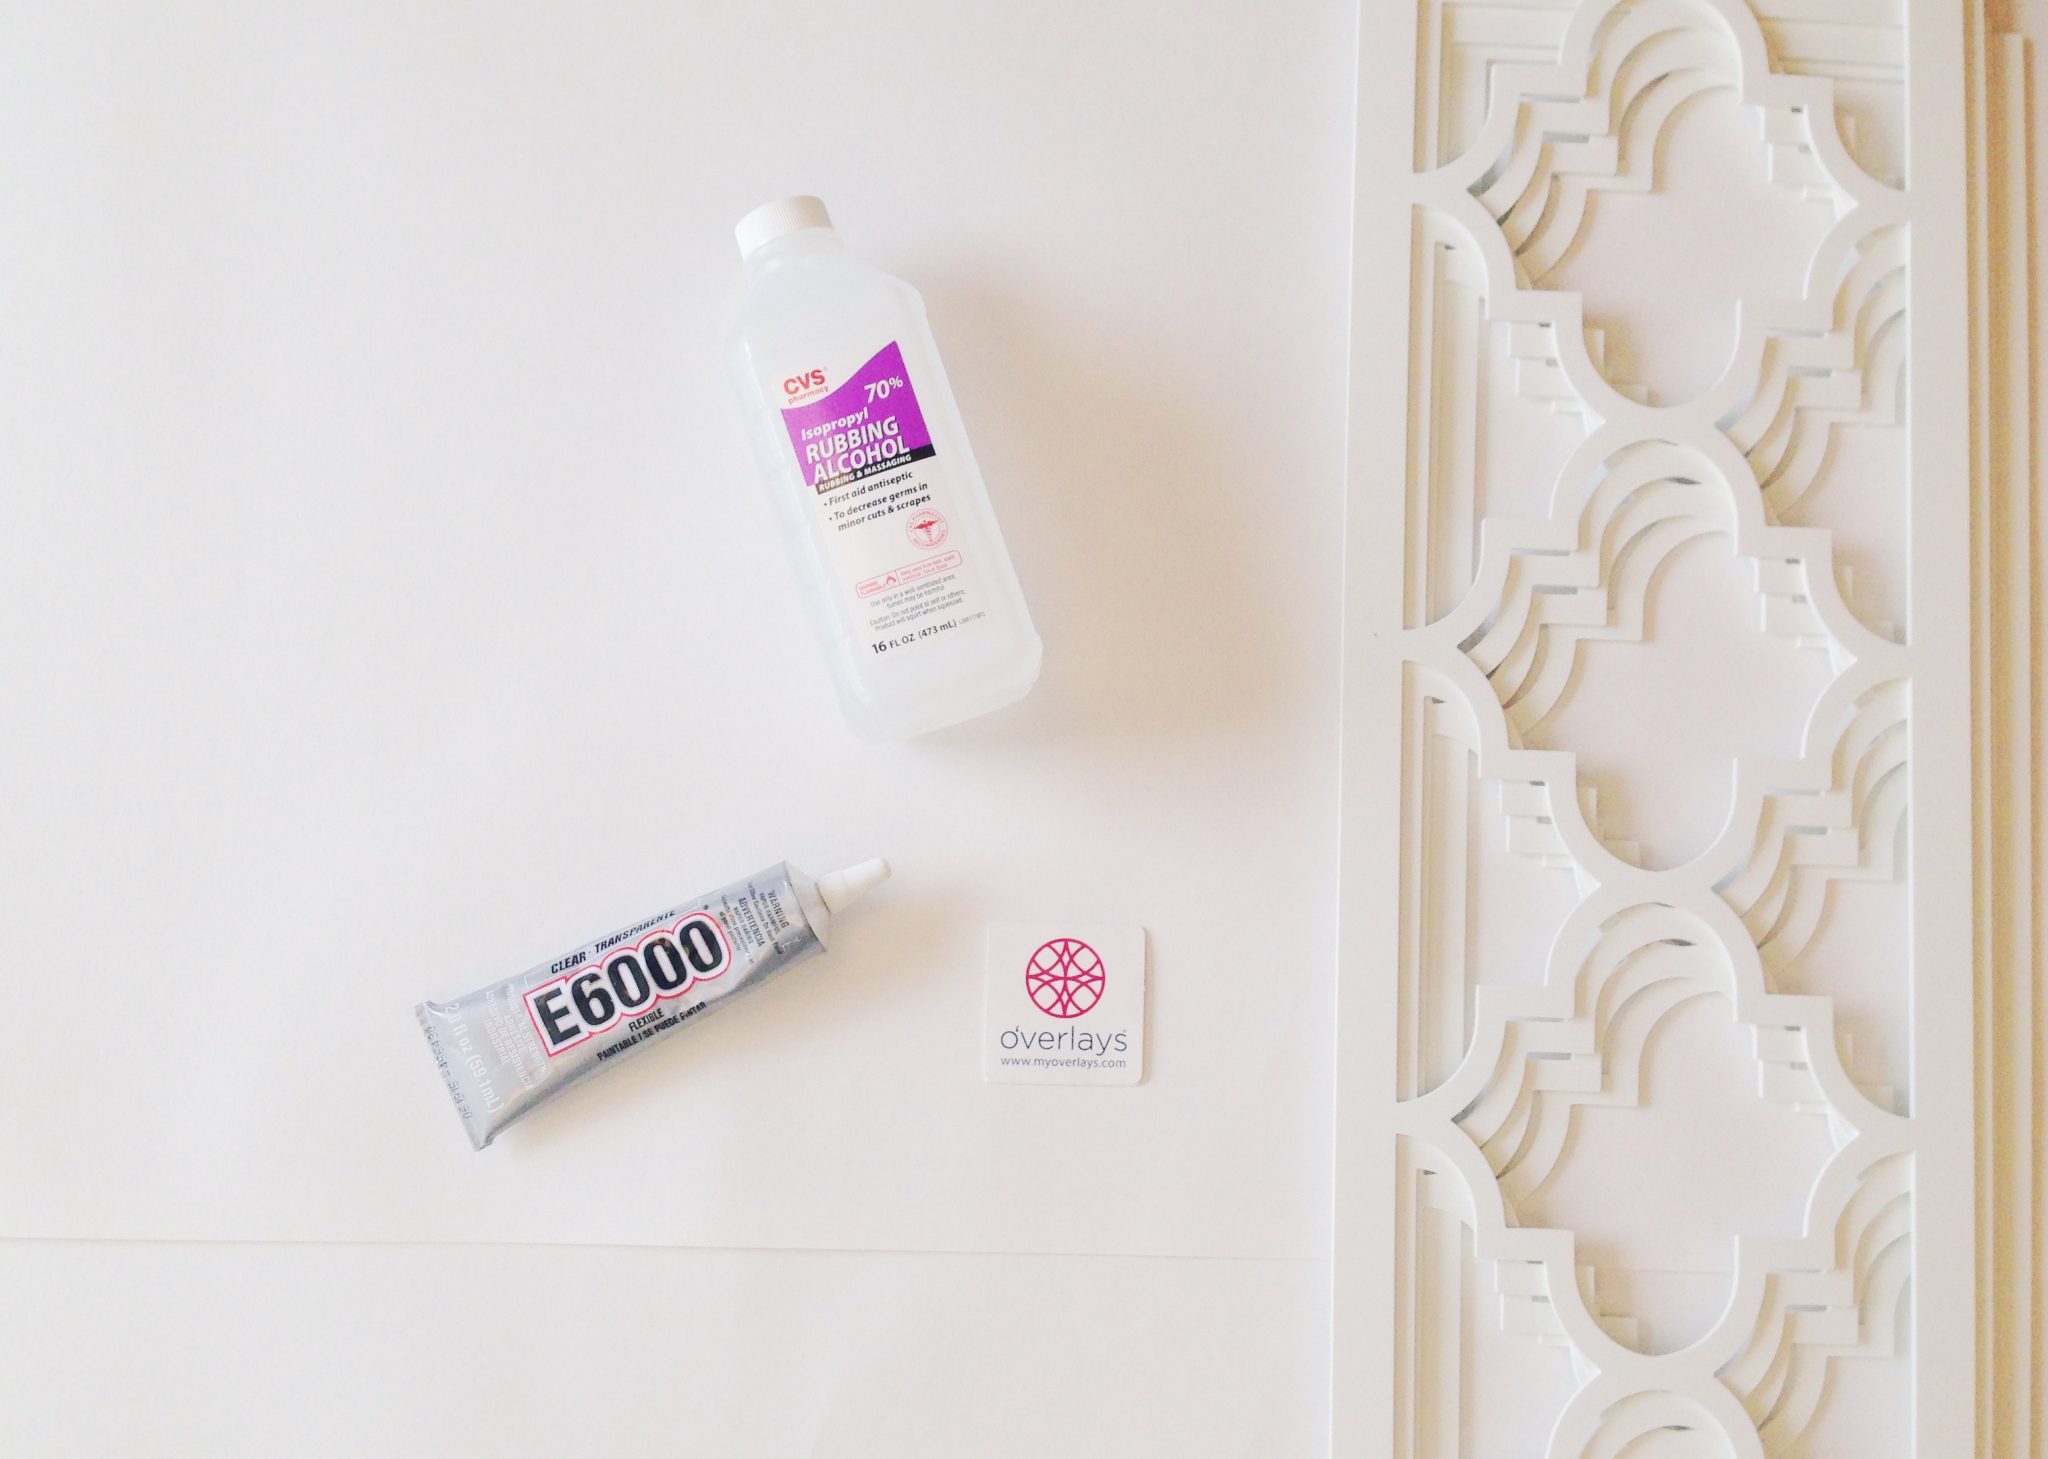
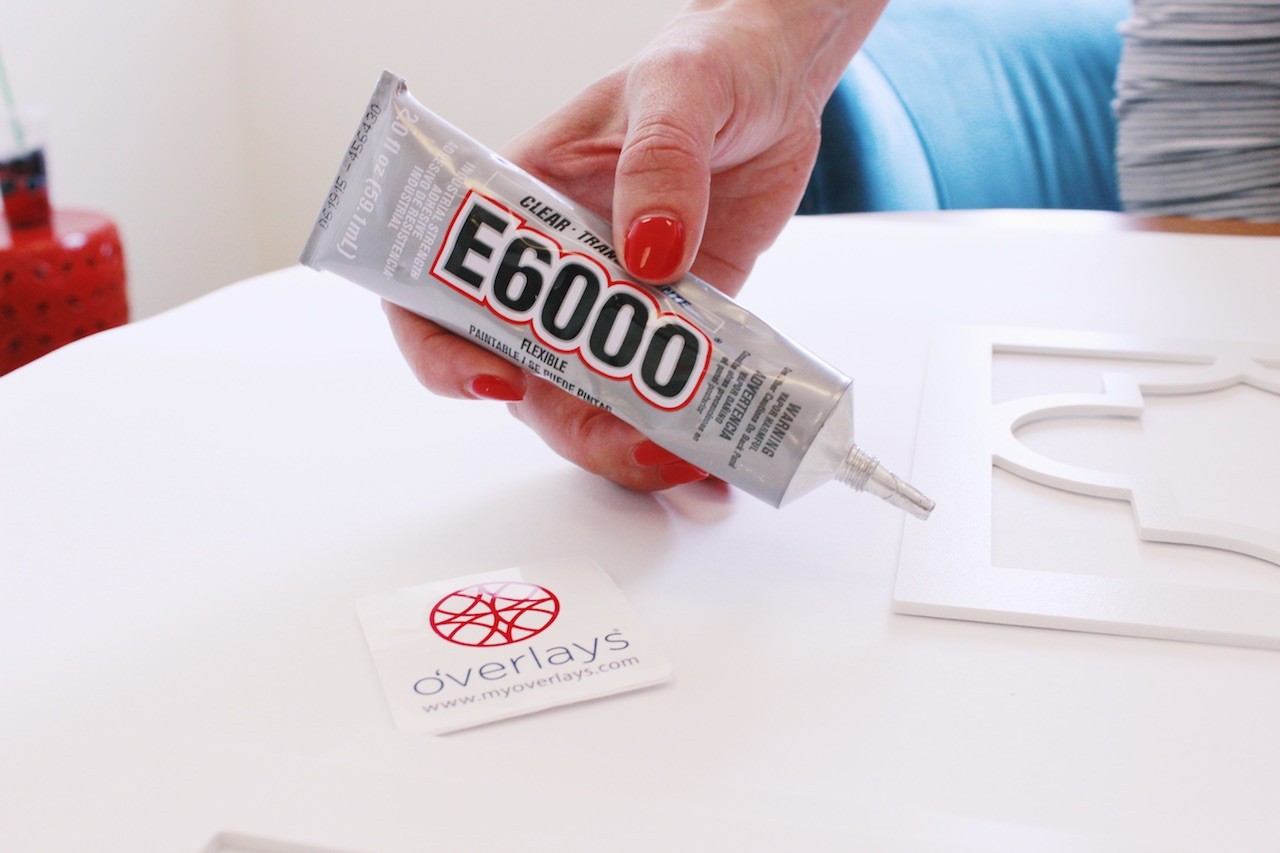
You’ll need a nice heavy duty adhesive (we used this one or use craft store glue dots if you want to be able to remove in the future), rubbing alcohol, and a clean cloth.
Wipe Down Your Dresser and O’verlays
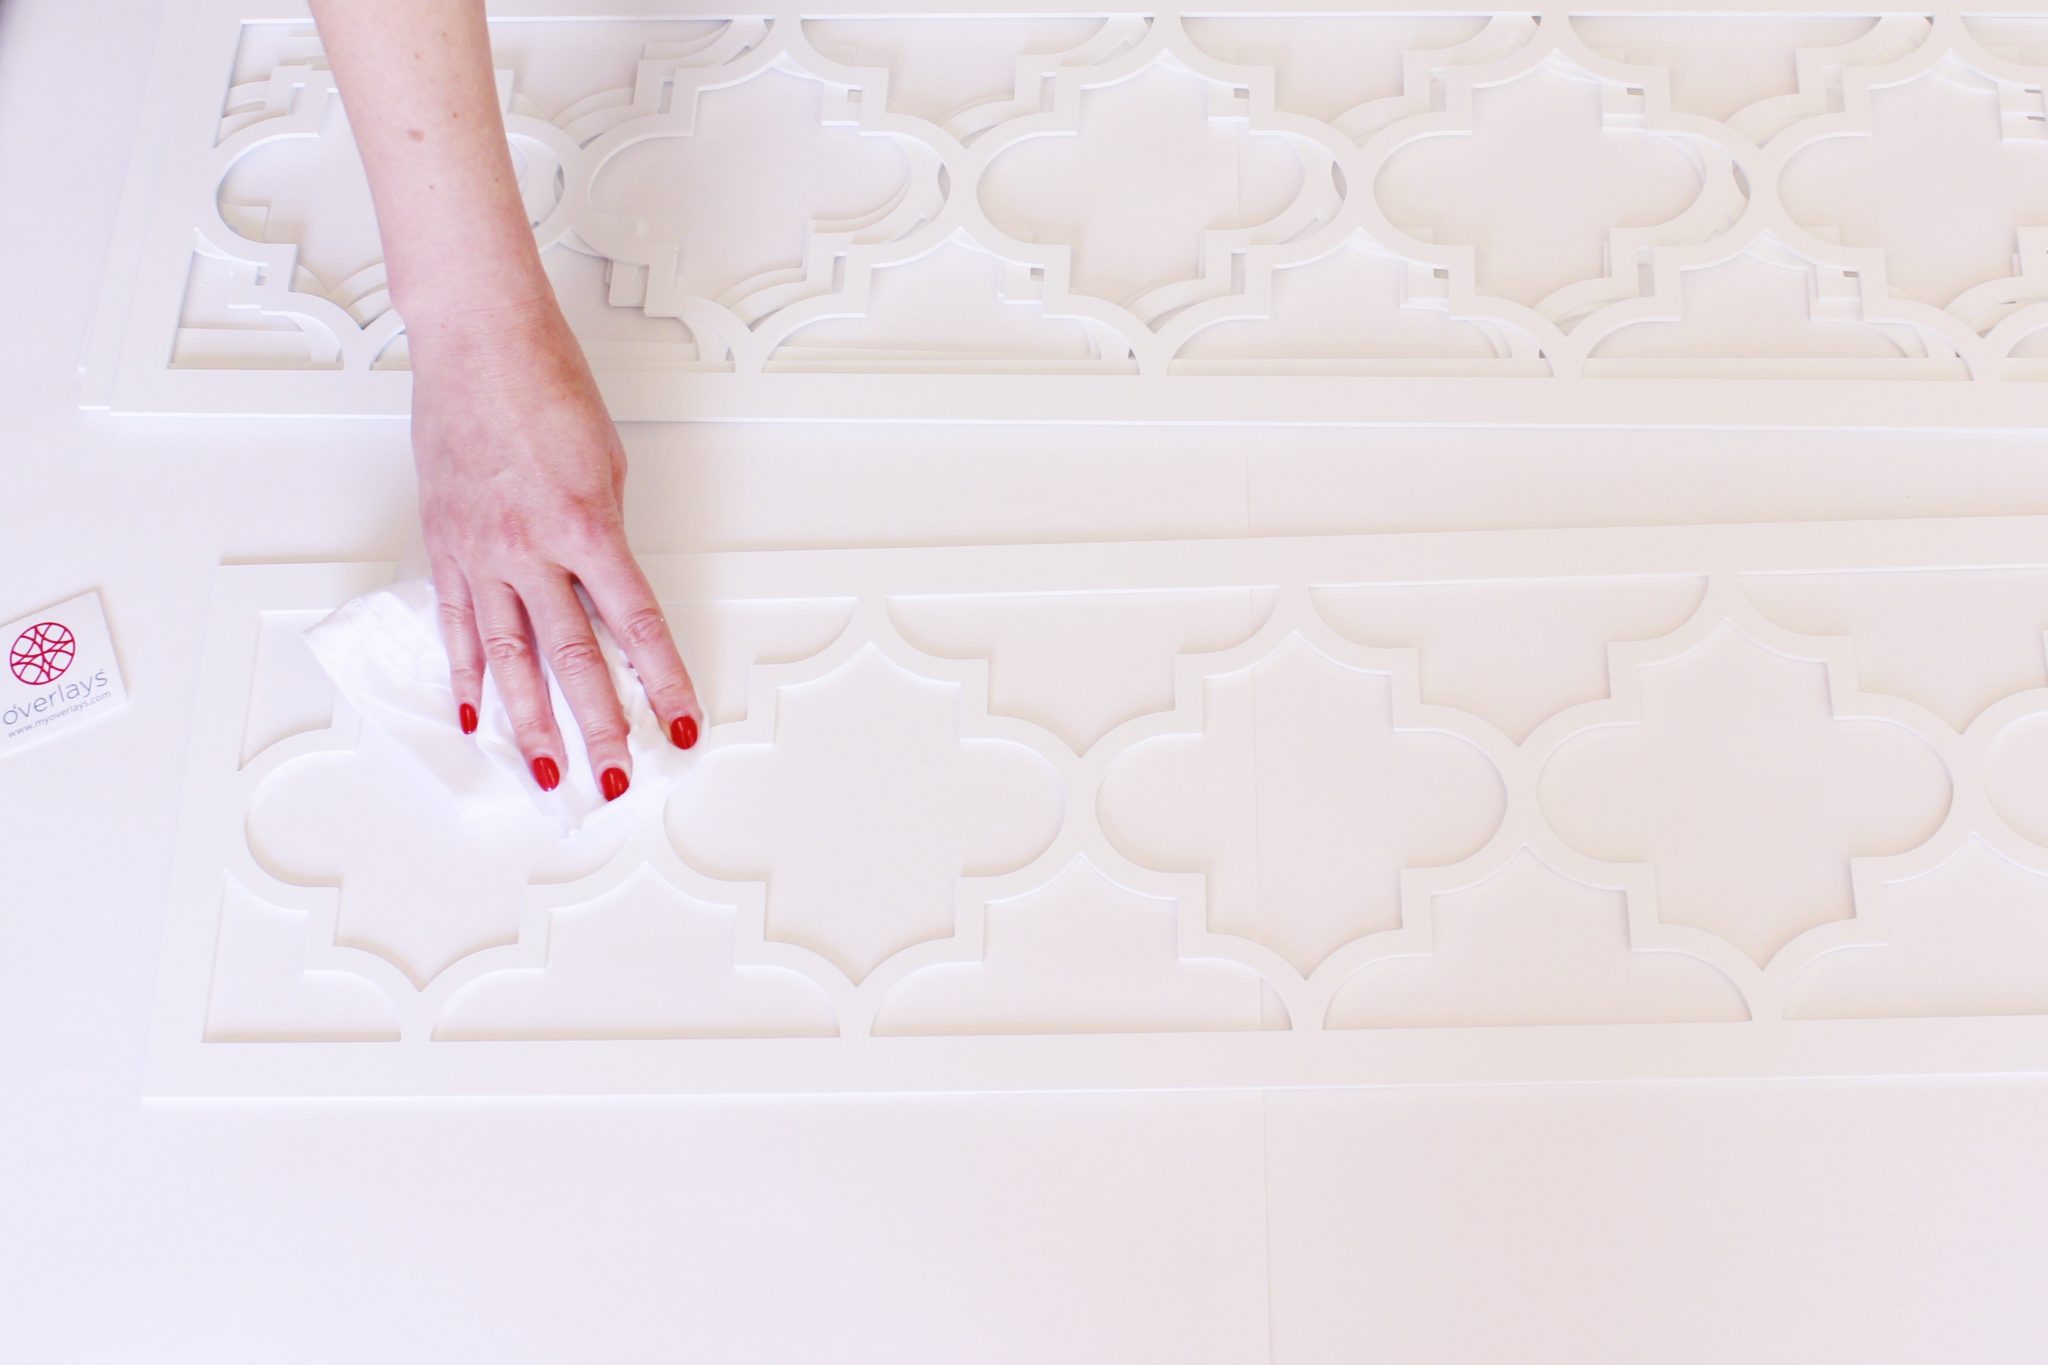
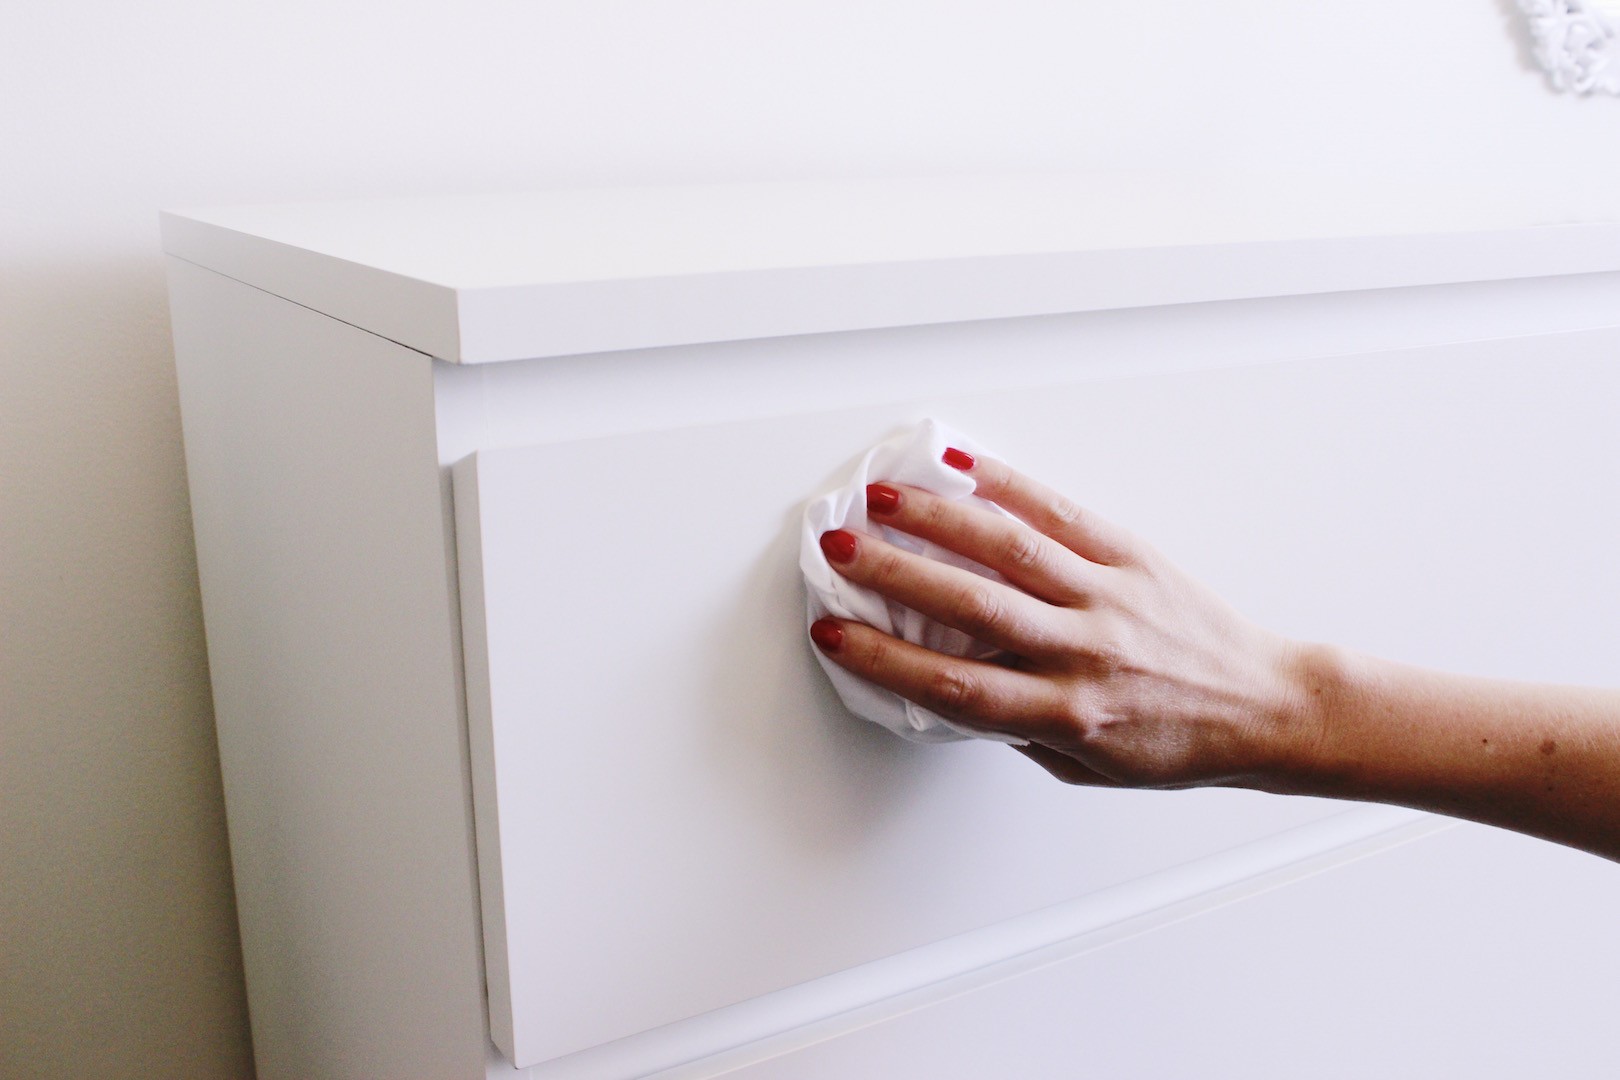
Use regular household rubbing alcohol on a clean cloth to wipe down all surfaces that will be adhered to one another, this will help them stick (just make sure to let the alcohol dry first!)
Ready to find your next apartment?
Apply Adhesive To O’verlays Panels
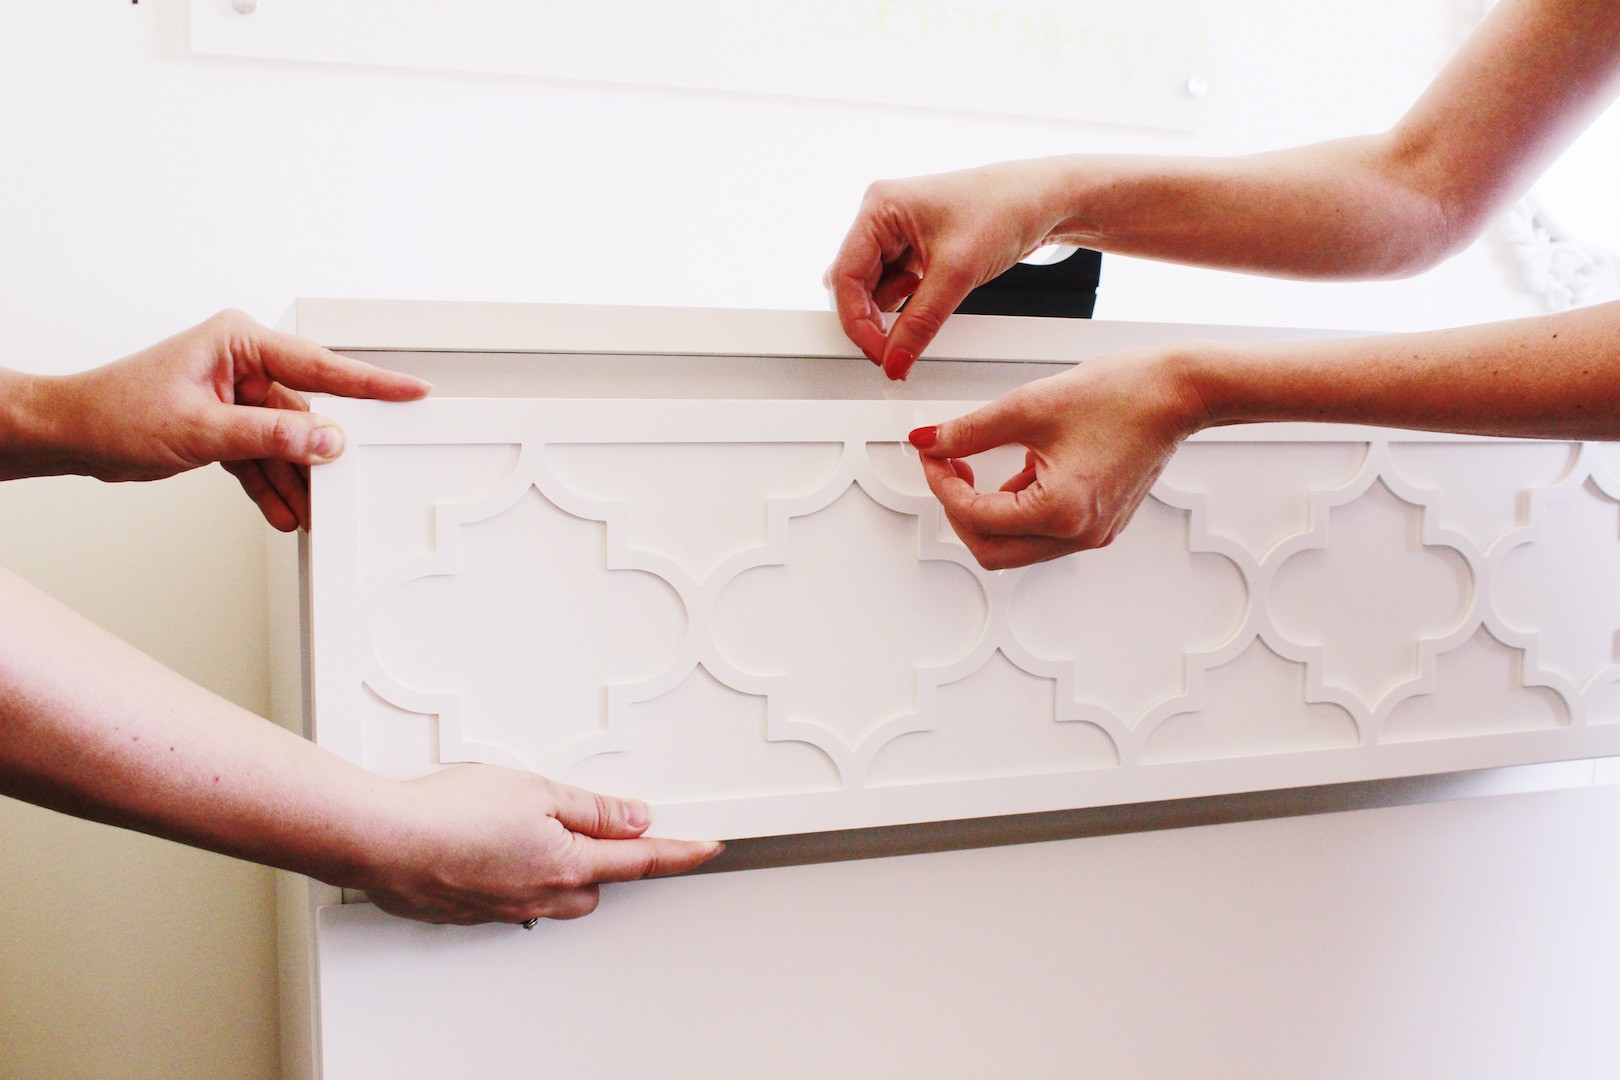
Carefully Apply O’verlays Panel to Dresser Drawer and Tape in Place While Adhesive Dries
Stand Back and Admire Your Work!
Take a peek at the full process here:
Now it’s your turn! Head over to O’verlays and pick your project, then post to Twitter and Instagram with #myoverlays and you just might get a feature on the @myoverlays accounts!